I have wanted to start making some paintings in a bit larger size than I am used to. I thought this would be a good time to use the panel preparation method used by Antonis Kosmadakis. He is an iconographer that has a great YouTube channel called Painting the Light (https://www.youtube.com/channel/UCprGDy5X3gZ3OwTtV_10qwg)
One of his recent videos is his process of preparing his gessoed panels. I have lately been using Natural Pigments Easy gesso mix and was working well, but decided to give it a try for the larger panels I wanted to do.
For this batch I used the following materials: Rabbit Skin Glue crystals, Whiting (Calcium Carbonate – Chalk), Titanium White pigment, Water.
For measuring I used a shot glass for the smaller container, and a small chutney jar for the larger one.

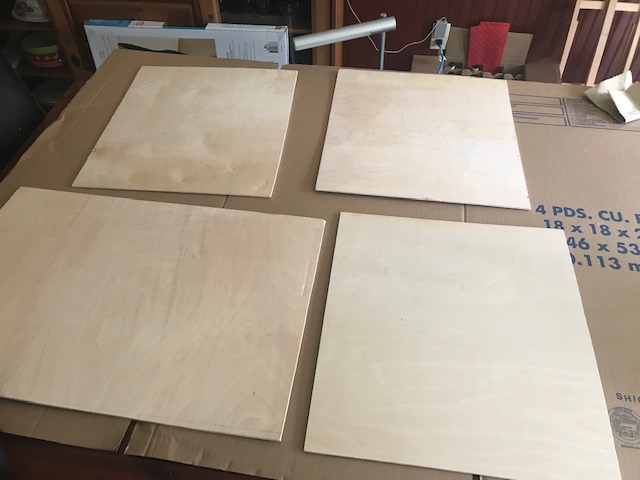
Al cut the boards for me to a more manageable size, and after sanding the edges I followed Antonis’s instructions on preparation.
Rabbit Skin Glue
Step 1 – First I mixed up some hide glue using the following ration 1:5, in my case it was 3 small shot glasses of rabbit glue crystals to 15 shot glasses of water. I let is sit for 3 hours (2 was probably fine though) and then warmed it up in a water bath. It is gel at this point so warming it brings it back to a liquid.
Step 2 – Take 1 part of this glue mixture and 1 part water and mix together in another container. So this mixture was one chutney jar of glue mixture and one chutney jar of water. This is the glue mixture that will be used in the gesso.
Gesso
Layer 1 – In another bowl combine 1 part (chutney jar) of the glue mixture above and 2 parts whiting (chalk). Mix well and apply to boards. Apply smoothly and remove any bubbles if you see them. Try not to agitate it too much
Layer 2 – Into the remaining gesso, add 2 more parts of chalk (whiting) and mix thoroughly. Wait roughly 25 – 30 minutes for the previous layer to dry, then apply.
Layer 3 – Into the remaining gesso, add 4 tbsp of chalk, mix well and apply after dry. About 25 – 30 minutes. This is a softer mixture of gesso than the previous layers and will be easier to sand or smooth. At this point you can take a soft cloth or sponge and dip it in lukewarm water and squeeze almost all of it out. Use this sponge to gently pull over the top layer and smooth. It will smooth out the brush strokes and make any final sanding much easier. This should be done about 10 minutes after the layer was applied. So not still wet, but not completely dry.
Layer 4 – After the previous layer is dry, apply another layer the same as the last. Smooth out the brush strokes using the sponge. You can add some gesso to the edges to clean them up here.
Subsequent Layers -Apply the same as Layer 4. I only needed about 5 layers total and I was happy with my boards, but you can keep adding until you feel they are done.
After the gesso is dry, I waited until the next day, and lightly sanded.
Gesso Colour
If the gesso is appearing too grey, you can substitute some of the chalk mixture with titanium white pigment. For example instead of a 1 part glue mixture to 4 parts chalk (1:4), it would be 1 part glue mixture, 3.5 parts chalk and .5 parts titanium white pigment (1:3.5:.5)
Safety
When adding and mixing the chalk with the hide glue, I made sure to be outdoors, and wore a mask. There are fine particles in the whiting and the cautions on the side were against inhalation as it was a known carcinogen. Once the mixture was combined I brought it back inside to apply to the boards. I could have done the whole thing outside but don’t have a surface for that.
Results
This applied much nicer and so far I do not see any cracks, bubble or issues with the gesso itself. The surface was very easy to smooth out and sand at that end. It covered 4 larger board for me with very little left over.
The next day I made the easy gesso and was surprised at how thin it was. I needed to apply at least 7 or 8 coats but the surface was nice. I still prefer Antonis’ method above.


How long does it take to dry between layers?
LikeLike
roughly 30 minutes a bit longer depending on humidity. It doesn’t need to be bone dry between layers. He does say that if he is doing boards for commissions, he has a ‘guy’ that does them for him. Just to be sure, but so far this is much more pleasant than the easy gesso to use, also much cheaper because you buy your materials in bulk.
LikeLike